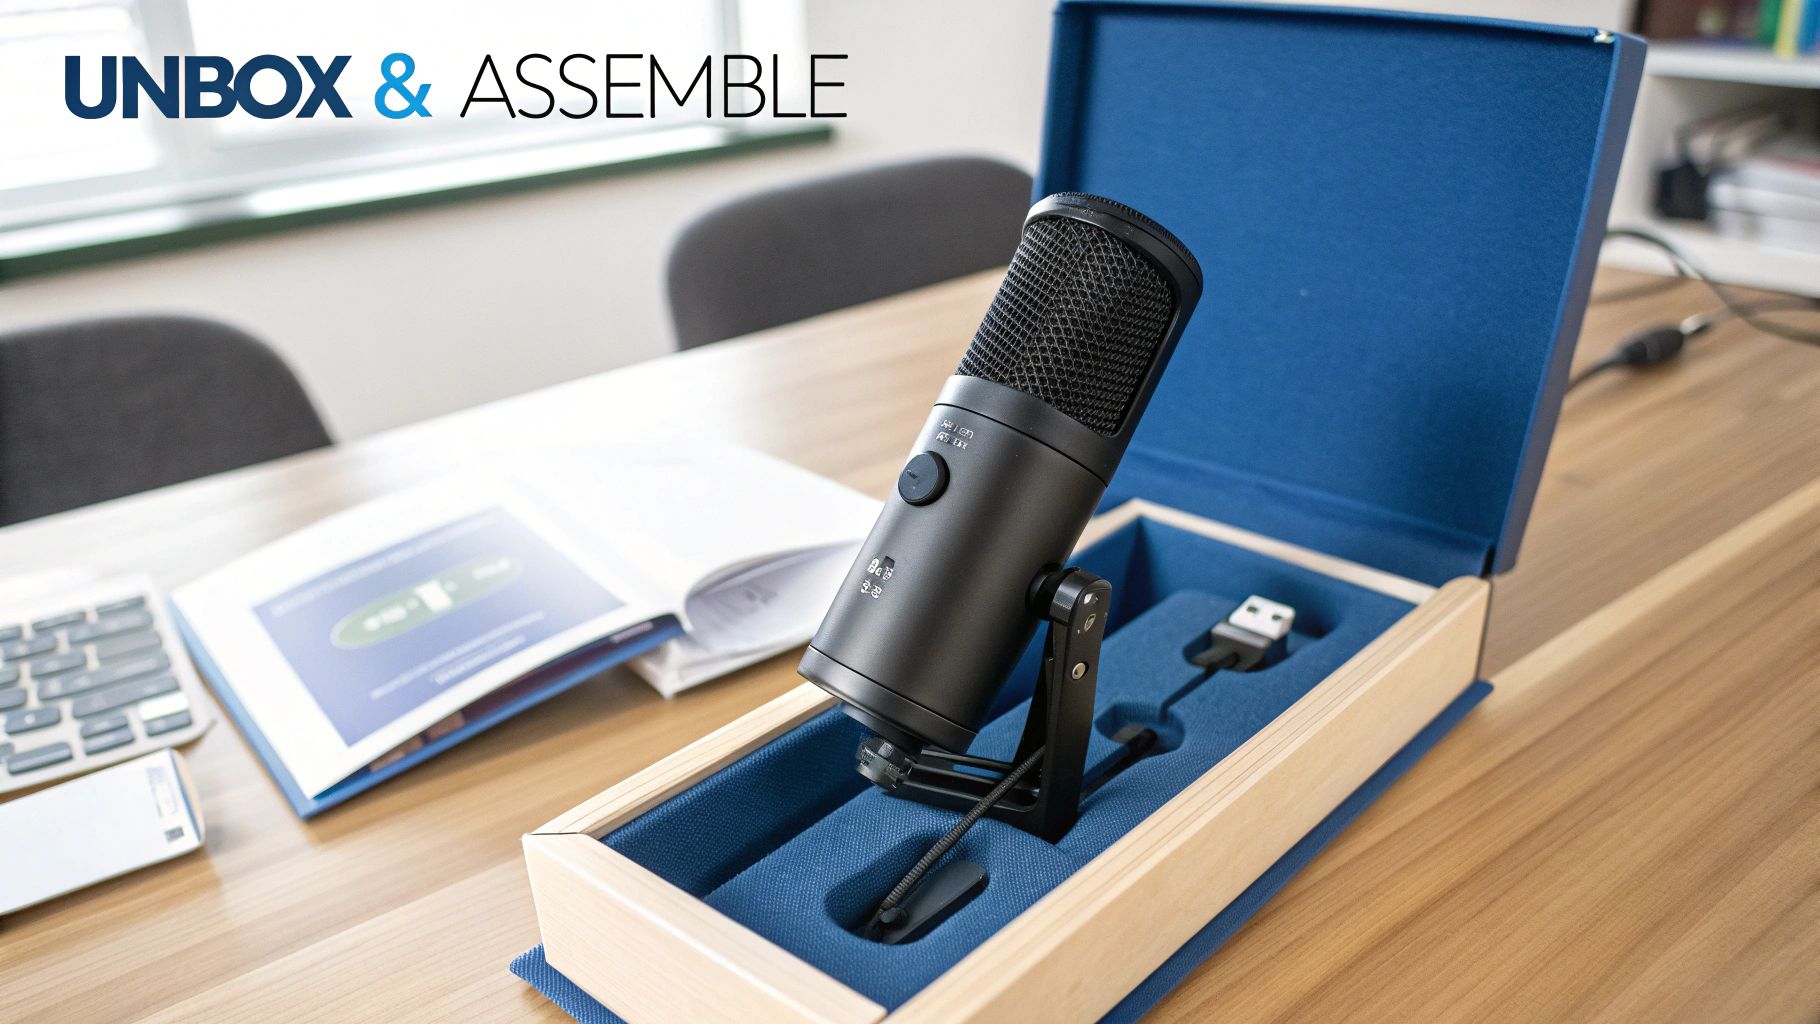
How to Set Up Microphone: Easy Step-by-Step Guide
Getting your microphone set up properly is all about three things: picking the right kind of mic, plugging it in, and then telling the software how to use it. It's a lot simpler than it sounds, and we'll walk through it step-by-step.
Your Microphone Setup Blueprint
Hooking up a new microphone for Whisperit shouldn't be a headache. The whole point is to get your voice into the system as cleanly and clearly as possible, without needing an engineering degree. Let's break down the two main routes you can take.
Think of it this way: one path is all about speed and simplicity, while the other gives you more control and higher-end audio quality. For a wider view on different audio setups, looking at how event professionals handle sound can be insightful; these professional sound for wedding options show the range of equipment used in demanding environments.
Choosing Your Connection Type
Your first, and most important, decision comes down to two types of connections: USB or XLR.
A USB microphone is the definition of plug-and-play. You just plug it directly into a USB port on your computer, and you're pretty much ready to go. All the complicated tech that turns your voice into a digital signal is built right into the mic itself.
An XLR microphone is the more traditional, professional choice. It connects via a thick, three-pin cable to a separate piece of gear called an audio interface. That interface then connects to your computer, usually via USB. This extra box gives you much more hands-on control over your sound, like adjusting volume levels (gain) before the audio ever hits the computer.
The real difference isn't just the cable. It's about where the sound gets converted from analog to digital. With USB, it all happens inside the microphone. With an XLR setup, a dedicated audio interface handles that job, which almost always means better sound quality.
To make the choice clearer, let's put them head-to-head.
USB vs XLR Microphones at a Glance
This quick comparison should help you understand the key differences between the two most common microphone connection types and choose the right one for your setup.
| Feature | USB Microphone | XLR Microphone |
|---|---|---|
| Simplicity | Plug-and-play; perfect for getting started quickly. | Requires an audio interface and an extra cable. |
| Cost | Generally more affordable to get started. | Higher initial investment for the mic and interface. |
| Best For | Streaming, podcasting, and online meetings. | Music recording, professional voice-over work. |
| Portability | Fantastic. Just one mic and one cable. | Less portable since you need the interface, too. |
Ultimately, a good USB mic is more than enough for most people starting out. But if you're chasing the best possible audio quality or plan on upgrading your setup down the line, starting with an XLR system is a solid long-term investment.
Choosing the Right Microphone for Your Voice
Getting your audio right starts with one fundamental choice: the microphone. This decision is less about what looks cool and more about your specific recording space and what you’re trying to capture. The mic you choose will define the raw quality of your voice before any software gets a hold of it.
Think of it this way: a dynamic microphone is like a spotlight. It’s fantastic at rejecting background noise, making it a lifesaver if your office has echoey floors or a noisy air conditioner. It zeroes in on your voice and largely ignores everything else.
On the other hand, a condenser microphone is like a floodlight. It’s incredibly sensitive and picks up every subtle detail and nuance in your voice. This is perfect for quiet, controlled environments but can be a nightmare if it also captures every keyboard tap and distant dog bark.
Why Polar Patterns Matter
The real magic in controlling what your microphone hears comes down to its polar pattern—basically, its field of hearing. For recording your voice for Whisperit, the pattern you'll almost always want is cardioid.
A cardioid pattern is heart-shaped, picking up sound directly in front of the mic while rejecting noise from the sides and back. This is your secret weapon for isolating your voice from the random sounds of your room. Grasping this simple concept is a huge step in setting up your hardware for success.
A common mistake is buying an expensive condenser mic for a noisy room. A tough cardioid dynamic mic would actually perform much better in that scenario. It’s not about the "best" mic, but the right mic for your space.
The demand for better audio isn't just a niche interest; it's a massive global trend. The microphone market was valued at about USD 9.20 billion in 2023 and is on track to hit USD 16.00 billion by 2032. This growth is fueled by everyone from professionals to at-home creators demanding clearer sound.
For professionals who rely on our platform, like those in healthcare, a clean audio signal is non-negotiable. The right microphone setup is crucial for tools like https://www.whisperit.ai/blog/medical-dictation-software to perform at their best. If you're still weighing your options, guides on finding the best microphone for recording can offer some excellent, practical advice.
Making the Physical Connection to Your Computer
You've picked out the right microphone. Great. Now it's time to get it hooked up to your computer. How you do this depends on the type of mic you have, but the end goal is always the same: getting a clean, stable signal for your voice.
For a USB microphone, things couldn't be easier. These are built for true plug-and-play simplicity. Just take the USB cable that came with it, plug one end into the mic, and the other into a free USB port on your computer. Your machine should instantly recognize it as a new audio device.
Hooking Up an XLR Microphone
Connecting an XLR microphone has one extra but absolutely essential step: an audio interface. Think of this little box as a bridge. It takes the analog signal from your microphone and converts it into a digital one your computer can process. It also gives you power and fine-tuned control over the sound.
The signal path is straightforward:
- First, plug the three-pin XLR cable into the bottom of your microphone.
- Then, connect the other end of that cable to an input on your audio interface.
- Finally, use a USB cable to connect the audio interface to your computer.
This diagram shows you exactly how everything fits together.
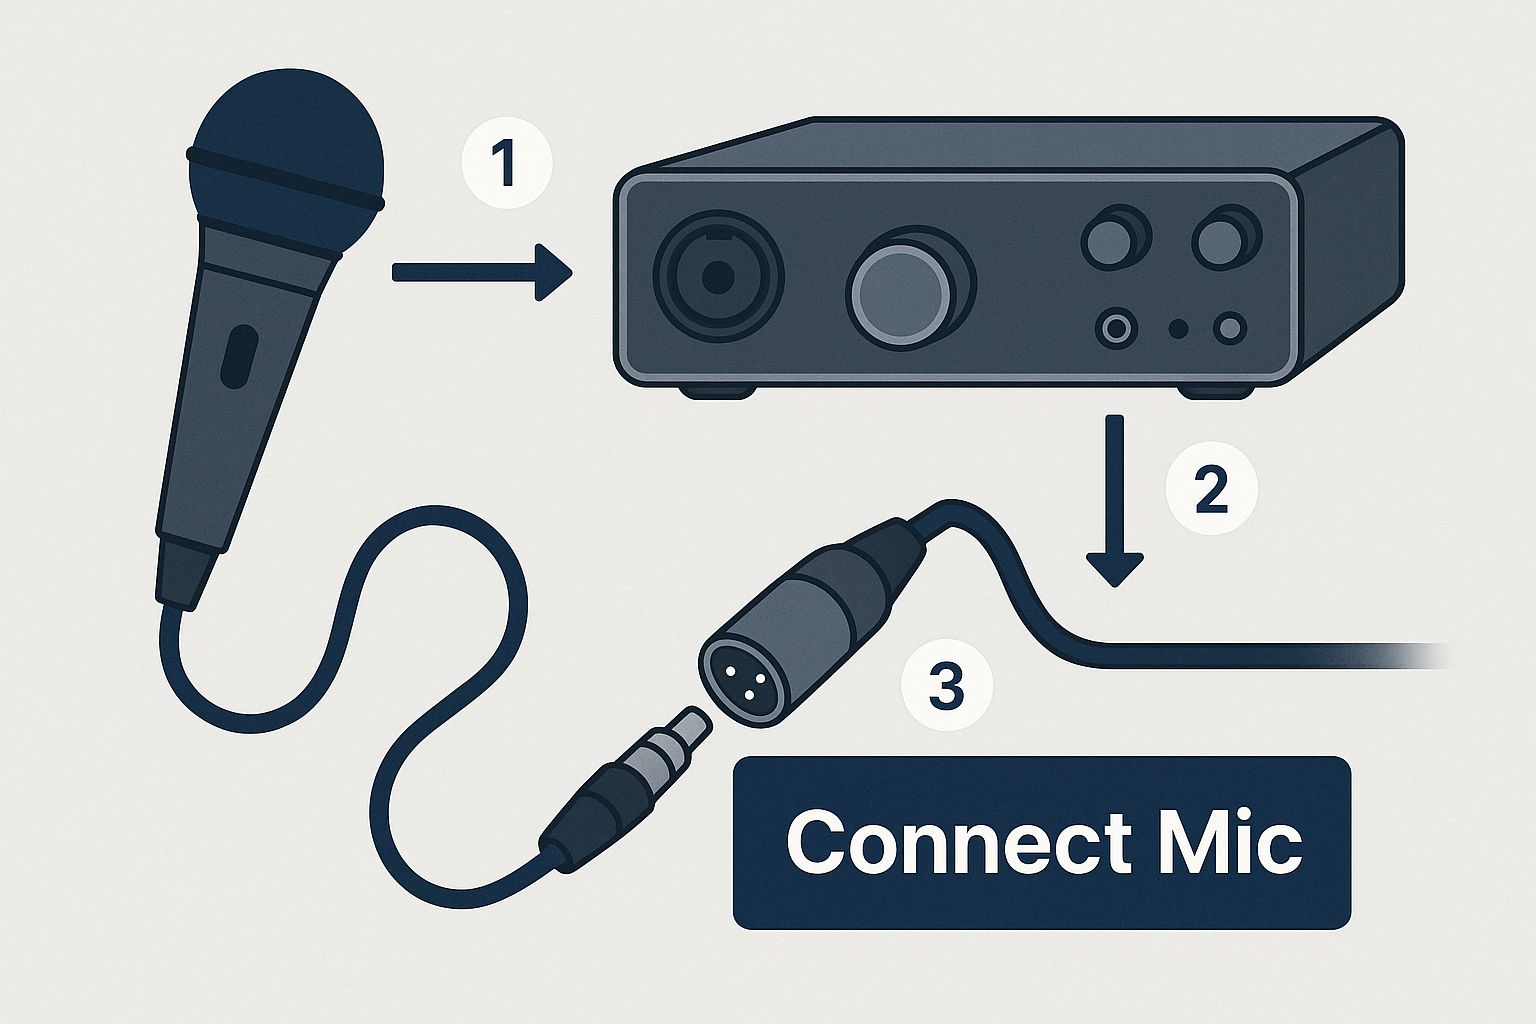
As you can see, the audio interface is the central hub, linking your professional-grade microphone directly into your digital setup.
Most condenser microphones need a little juice to work, which is where phantom power comes in. Your audio interface provides this low-voltage current at the push of a button, usually labeled +48V. The interface also has a gain knob, which is a game-changer. This physical dial lets you control the mic's sensitivity, allowing you to set the perfect input level before the signal even hits your software.
A Quick Pro Tip: Don't skimp on cables. I've seen countless good recordings ruined by a cheap, poorly shielded cable that introduces static, hum, or signal dropouts. Spending a few extra dollars here will save you a world of headaches down the line.
Getting these connections right is crucial for any professional who relies on dictation. For example, many legal professionals using Whisperit need a perfect audio stream every single time. You can learn more about their setup by reading our guide on top legal artificial intelligence software tools.
Configuring Your Mic in Windows and MacOS
Alright, your microphone is plugged in. Now for the most important part: telling your computer to actually use it. This is where so many people trip up. Your laptop or webcam has a built-in mic, and nine times out of ten, your computer will stubbornly try to use that one, leaving you sounding like you're in a tunnel.
We need to dive into your sound settings and make your new microphone the star of the show. It's a quick fix, but it makes all the difference between muffled audio and crystal-clear sound.
Finding Your Sound Settings
On a Windows machine, the quickest way in is to right-click that little speaker icon on your taskbar and hit "Sound settings." Look for the "Input" section. You'll see a dropdown menu there—just find your microphone in the list and select it. That's it. You've just told Windows which mic to listen to.
If you're on a Mac, it's just as easy. Head into "System Settings," click "Sound," and then pop over to the "Input" tab. All your connected audio devices will be listed. Simply click on your new microphone, and it becomes the default.
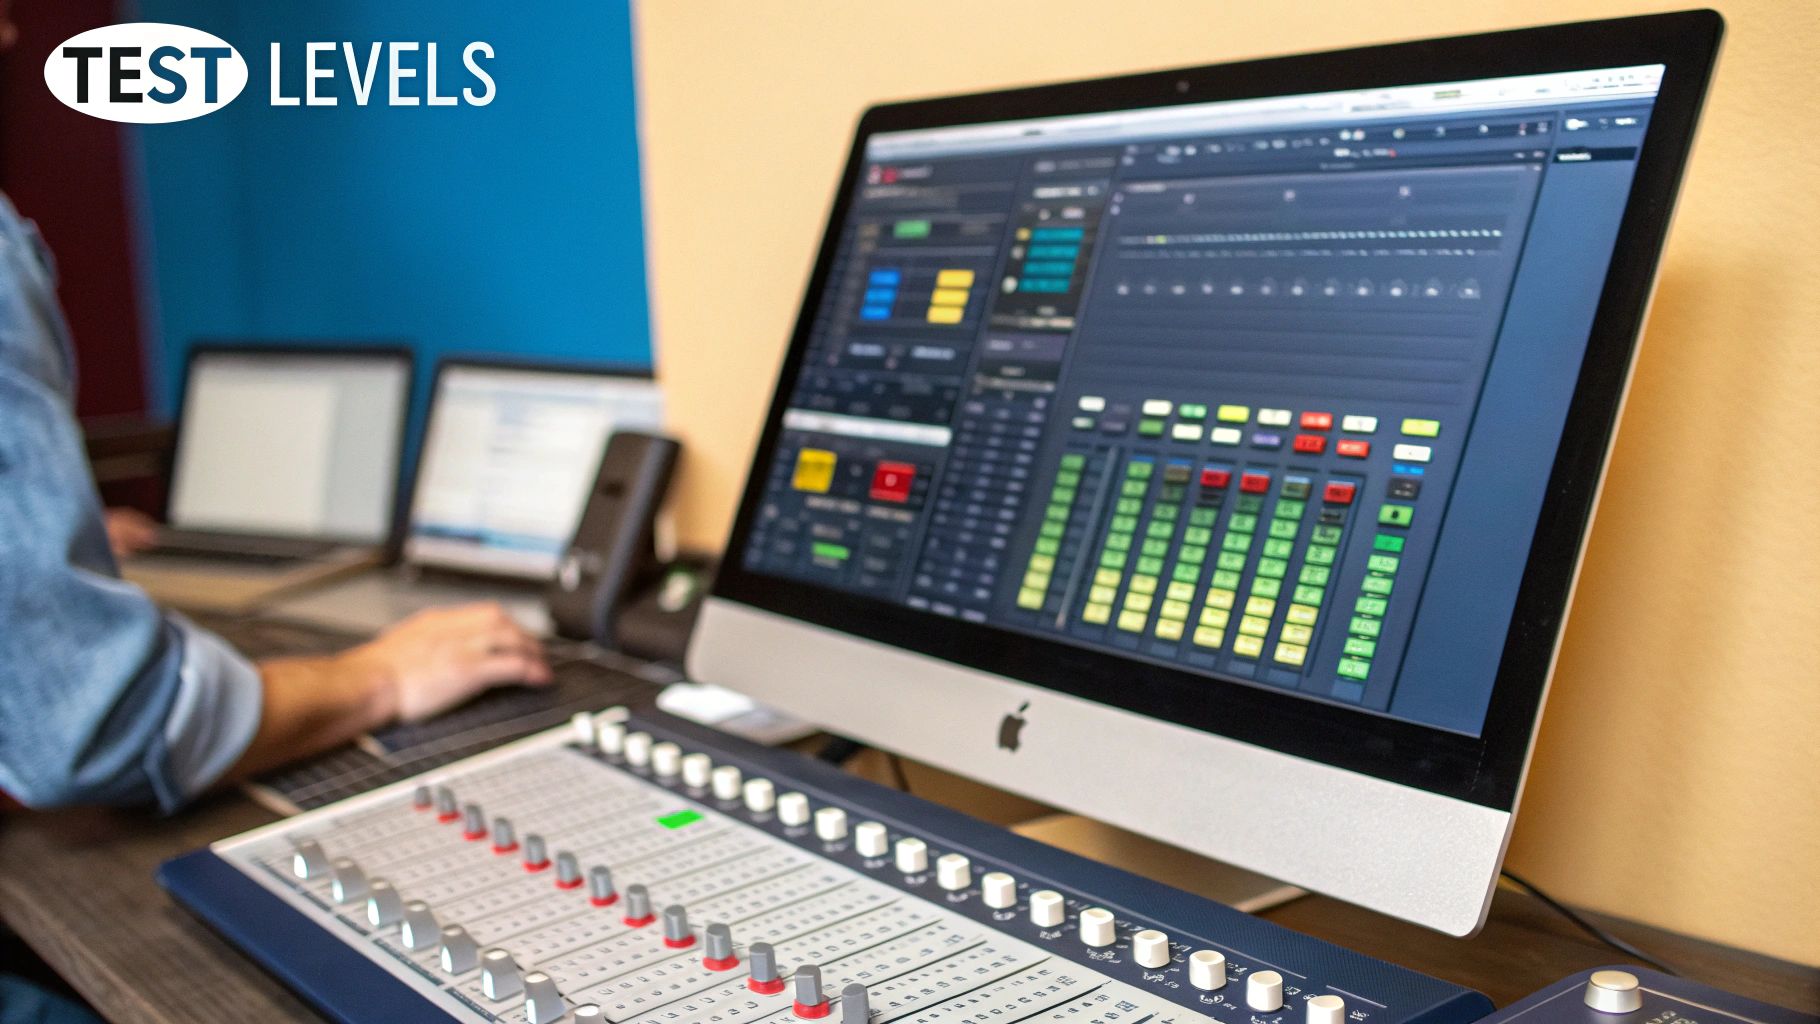
Here’s a look at what a typical sound settings panel looks like. See that input volume slider? We're heading there next.
Setting the Right Input Level
With your mic selected, the next step is dialing in the input volume, which is sometimes called gain. Think of this as the microphone's sensitivity. Too low, and Whisperit will struggle to hear you. Too high, and you get that nasty, distorted sound called "clipping" every time you speak a little louder.
I always tell people to aim for their voice to peak at roughly 75% on the input meter. Start talking at a normal, conversational volume and watch the little bar. You want it dancing in the green and just tickling the yellow. If it ever hits red, you're too loud.
Finding that sweet spot ensures your voice is strong and clear without any distortion. This is non-negotiable, especially for professionals who rely on tools like medical speech-to-text software, where every word has to be perfect.
Taking a minute to do a sound check now will save you a world of frustration later. You’ll have a reliable, professional-sounding setup every single time.
Optimizing Your Room for Clearer Audio
Even the most expensive microphone on the market will produce terrible results in a bad room. The main culprits are hard, reflective surfaces—think bare walls, hardwood floors, and big windows. These surfaces act like mirrors for sound, causing your voice to bounce around and create the echo and reverb that turn clear audio into a muddy mess.
The goal is to create a space that absorbs sound instead of reflecting it. The good news is you don't need a professional studio budget for this. Look around your room; you probably already have plenty of sound-dampening materials. Soft surfaces are your best friend here.
Carpets, thick curtains, couches, and even a well-stocked bookshelf can do an amazing job of breaking up and absorbing those rogue sound waves. There’s a reason the old trick of recording in a closet full of clothes works so well—it’s a perfect, low-budget vocal booth.
Smart Microphone Placement
Where you put your microphone is just as critical as the room itself. A good rule of thumb is to position it about 4-6 inches from your mouth. This close proximity ensures your voice is the main event, allowing you to turn down the microphone's sensitivity (gain) and naturally tune out a lot of background noise.
To really dial in your setup, here are a few placement tips I've learned over the years:
- Always Use a Pop Filter: This is non-negotiable. A simple mesh screen placed between you and the mic will diffuse the blasts of air from "p" and "b" sounds. Without one, you'll get jarring, distorted "pops" in your recording.
- Point the Mic Away from Noise: Think about where noise is coming from—a computer fan, an AC unit, an open window. Turn the microphone so its back is facing that direction. Most vocal mics (cardioid mics) are designed to reject sound from the rear, so you're playing to its strengths.
- Try Speaking Slightly Off-Axis: Instead of aiming your voice straight into the center of the microphone, try speaking just to the side of it. This little trick can soften the harshness of your voice and is another great way to minimize those pesky plosives.
The professional microphone market is a serious business. The Americas alone account for about 40% of a global market valued at over USD 1.0 billion. As the gear gets better, knowing how to set it up properly becomes the real differentiator.
Getting your recording space right is a fundamental step in any solid audio workflow. For professionals relying on Whisperit, a clean audio signal is the foundation for everything else, much like following document management best practices is for keeping your records straight.
Dealing With Common Microphone Glitches
So you’ve got everything set up, but something’s still not quite right. It happens. Before you get too frustrated, know that most microphone problems are surprisingly easy to fix. Let's walk through some of the most common issues people run into and get you back on track.
"Why Isn't My New Microphone Working?"
This is the big one, and thankfully, the solution is usually simple. Before you start digging into complex settings, let's cover the basics.
First, check your physical connections. Is everything plugged in snugly? If you're using a USB mic, try a different USB port. I've found that some ports, especially on hubs or the front of a desktop, just don't provide enough stable power.
For those with an XLR setup, double-check that your audio interface has power and is connected to your computer. A quick trip to the manufacturer’s website is also a good idea—many interfaces need you to install a small piece of driver software to function correctly. And never underestimate the power of a classic reboot. Restarting your computer often forces it to see the new hardware you've plugged in.
"How Can I Cut Down on Background Noise?"
Nothing ruins a great recording faster than the hum of a fan or the clatter of a keyboard in the background. Your first and best move is to get closer to your microphone—aim for about 4-6 inches away. This simple adjustment lets you turn down the microphone's gain (its sensitivity), so it picks up your voice loud and clear but ignores those distracting sounds further away.
If your microphone has a cardioid polar pattern, use it to your advantage. Point the front of the mic directly at your mouth and position the back of it towards whatever is making noise. Cardioid mics are designed to hear what's in front of them and reject sound from the rear. Of course, simple things like closing a door or window can work wonders, too.
A lot of people think they can just "fix it in post" with software, but that's a trap. While noise reduction tools are better than ever, they can't perform miracles. A clean recording from the start is always the goal. Over-relying on software to clean things up often leaves your voice sounding thin and unnatural.
"Do I Really Need an Audio Interface?"
This question comes down to one thing: the type of microphone you own.
If you have an XLR microphone, an audio interface isn't optional—it's absolutely essential. The interface acts as the translator, converting the mic's analog signal into a digital format your computer can actually understand.
It also supplies the phantom power that most condenser mics need to even turn on. On the other hand, USB mics pack all of that technology right into the microphone itself, which is why they're known for their simple, plug-and-play convenience.
For professionals, particularly in fields like healthcare, a rock-solid audio setup is non-negotiable. The quality of your input directly affects the quality of your output, which is a core principle behind a modern healthcare document management system where accuracy is critical.
Ready to make your documentation process faster and more efficient? Whisperit uses powerful AI to help you create documents up to two times faster. Try Whisperit today and experience the future of professional dictation.